- TOSIZE.at
- Do it yourself
- DIY Projects
A homemade cellar hatch made to measure from 3 concrete plywood panels, by Nor
A homemade cellar hatch made to measure from 3 concrete plywood panels, by Nor

Create this project yourself with sheet material cut to size by TOSIZE.at!
N. van
Very easy
2 minutes
Many homes often have an old crawl hatch to a basement or crawl space. After years of service, it often happens that it needs to be replaced. Due to the often specific dimensions of the hatch, making it yourself is a good solution. By simply ordering the sawn panels to size online; it is also a simple DIY project.
Description of Nor
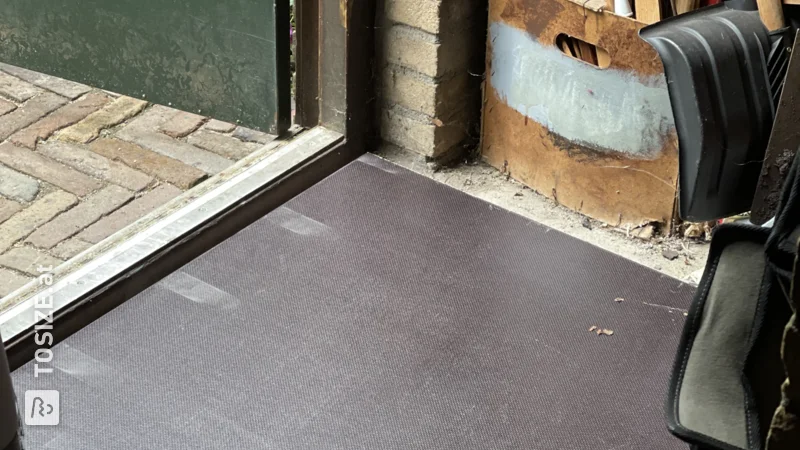
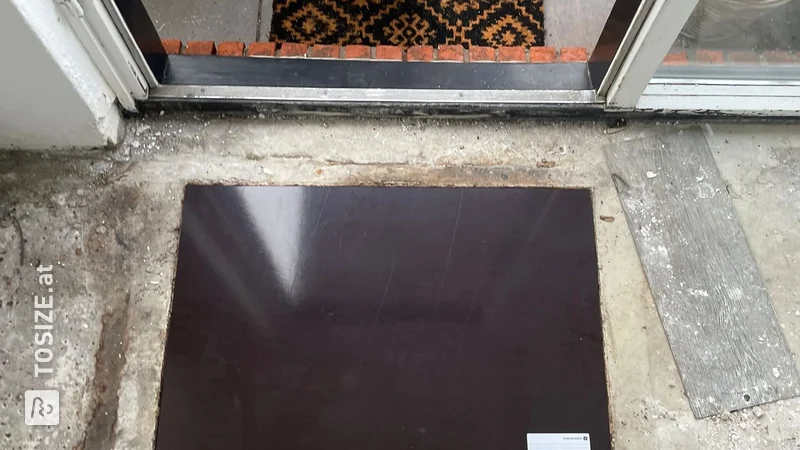
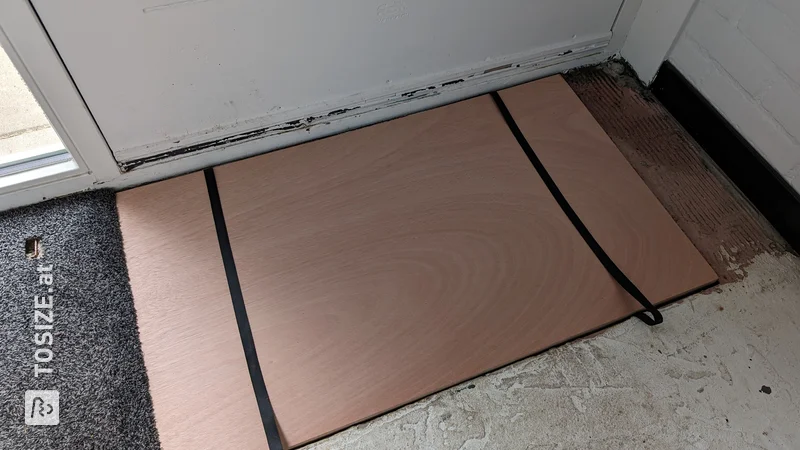
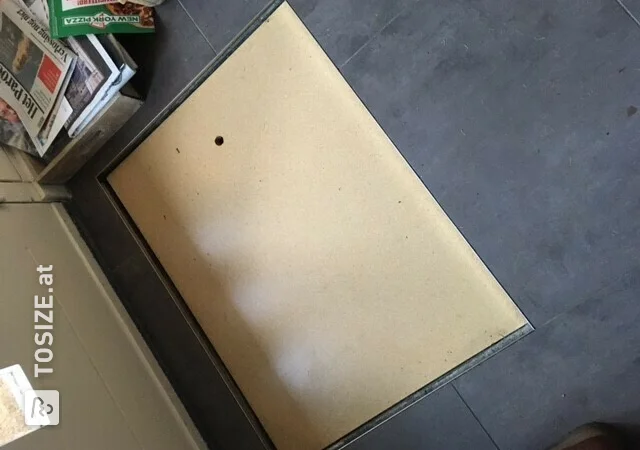
Replacing the hatch to the basement. A hole had been cut in the floor in the living room. A hatch was made from the sawn out parts. This has been replaced by a three-part shutter made of concrete plywood.
How I made this project
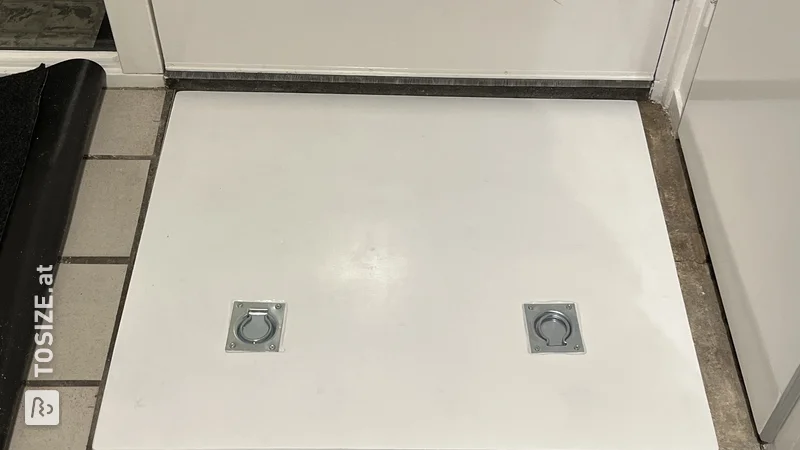
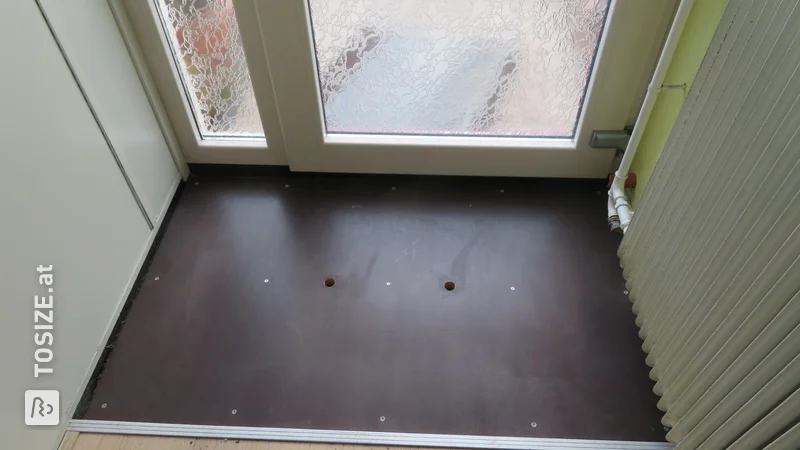
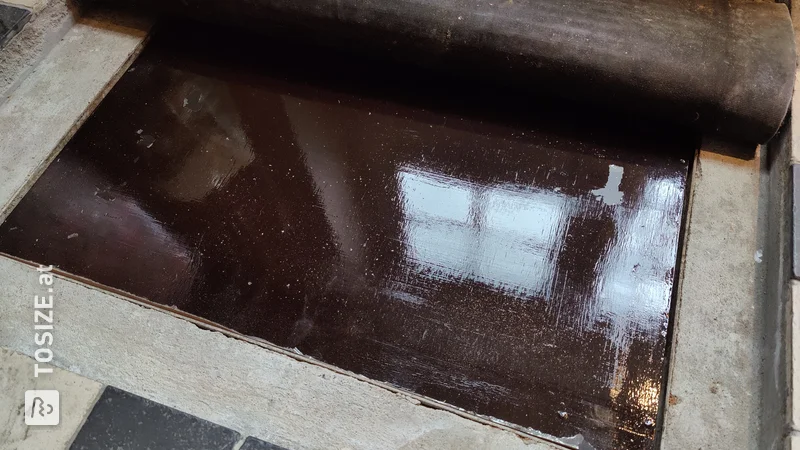
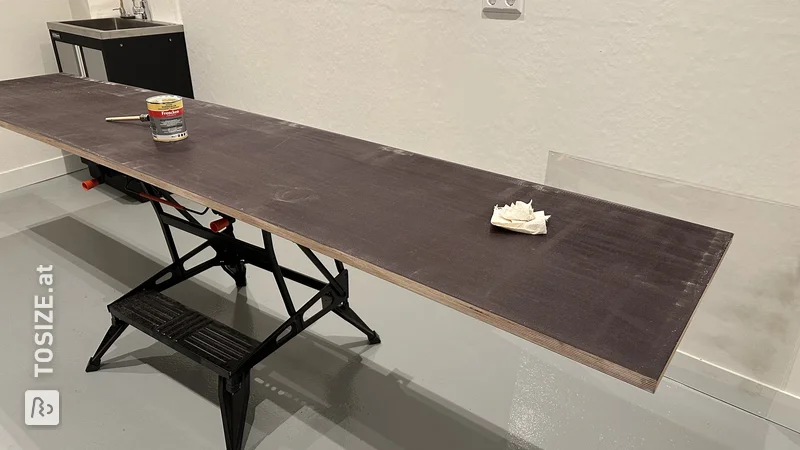
A year and a half ago we moved to the center of Haarlem. This house has a former potato cellar. Due to moisture absorption, the hatch to the cellar had swollen slightly and had stuck itself. It hinged towards the opposite inner wall, narrowly passing the outer wall. The windows in that outer wall have shutters on the inside. To open the cellar hatch, a window shutter had to be closed first, otherwise the cellar hatch could not pass. After a radiator has been installed over the full width of the room this summer, the current and any other hinge point will no longer be possible. The space required by the hatch presents a different problem when opening at each chosen hinge point. Moving the hatch is not a sensible option, because the basement stairs would also have to be moved and the floor would have to be re-raveled. One large hatch that slides open is also not practical. The new hatch consists of 3 plates "Concreteplex Hardwood 18 mm" of equal size. These are supported by 2 beams, each held in place by 2 support beams. Both beams are loose in the rail supports. The concrete complex is rounded all around and coated with 'Randsealer transparent'. treated. There is a corner protector on the corner of one plate, which is temporarily used to lift the hatch. This hatch will have a hatch ring instead.
Dimensions of my DIY project
150.0cm × 75.0cm
Tip! Also check out our handy DIY tips!
What now?
Want to make this DIY project? Check out N. van's saw list and complete your order easily.
€170.94
All materials used
View all sheet materials
More DIY Projects
What others made with Phenolic plywood


Also check out these similar DIY projects
View all projects