Make your own fascia boards to size
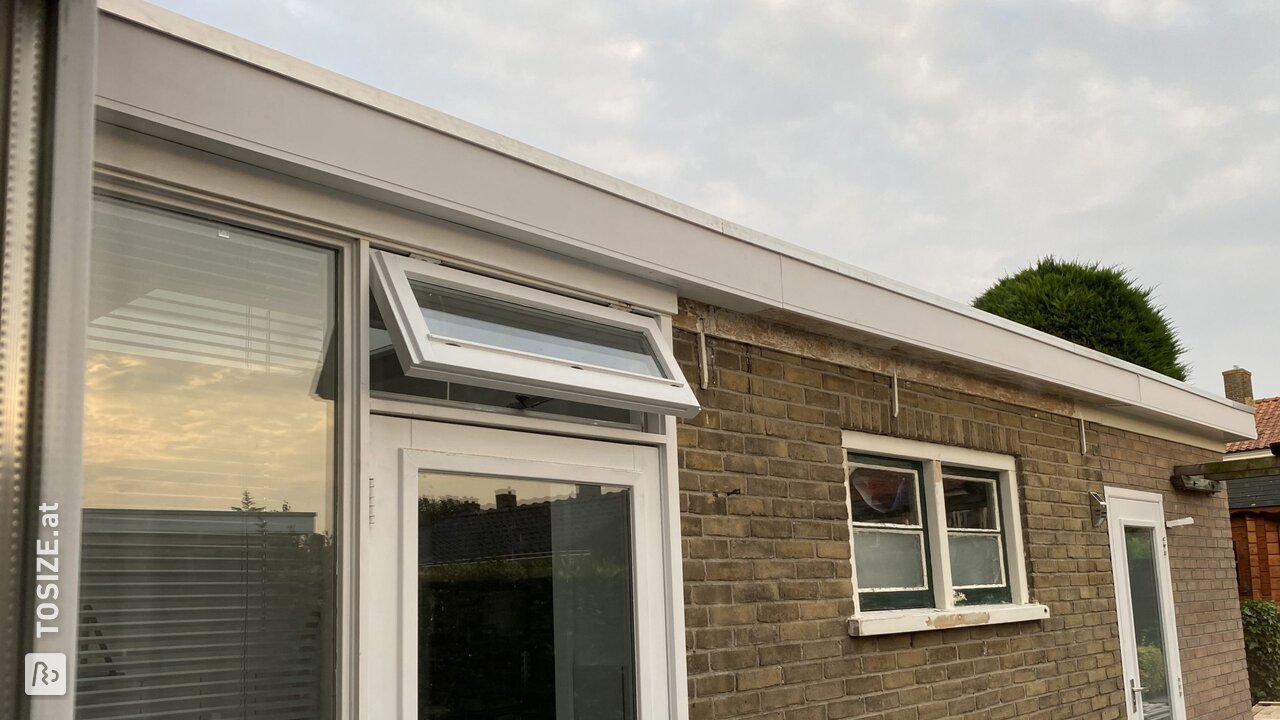
Are the fascia or wind feathers on your house, shed or summerhouse in need of replacement? You can easily replace these eaves trim yourself. It's a good idea to order your fascia boards perfectly sized at TOSIZE.at. At least it will save you the necessary sawing work! Read how to make your own fascia boards in this article.
In this article:
- How to make your own fascia boards to size
- What items do you need to make fascia boards
- How to make a drawing for buoys
- How to prepare for fitting new fascia boards
- What material do you use for fascia
- How to attach fascia boards
- How to finish fascia boards
- Examples of trim made by our handymen
- Getting started with your own fascia
How to make your own bespoke fascia boards
Fascias or windbraces are an important part of your eaves finishing and serve to protect your roof. But, of course, it can happen that a fascia may wear out or rot, for example after a leak. Then it's time to replace the fascia boards. A great, budget-friendly way to do that is by making your own customised fascia boards.
At TOSIZE.at you can easily order Okoumé Waterproof plywood, exactly the size you need. This type of wood is ideal for replacing your fascia boards.
What items do you need to make bespoke fascia boards
Before you start your project, it is useful to have the following items ready.
- Cordless drill: for easy pre-drilling of holes in the buoys
- Squared paper, pencil, eraser, ruler: to make a drawing of your project
- Grondverf, randsealer, lak of ander afwerkingsmiddel: most timbers from TOSIZE.at have yet to be finished
- Schroeven of spijkers: fixing the fascia boards to your house, shed or summerhouse
- Sandpaper: always handy to have on hand to smooth away unevenness or to neatly sand your drill holes
- Filler: to fill the resulting holes from screwing or nailing - use paintable filler
- Tape measure or folding rule: to measure everything properly and order correctly sized fascia boards from us
- Milling machine: only needed if you want to finish the fascia in a specific way
How to make a drawing for buoys
It is not very complicated to make a sketch for your fascia boards. You simply make a sketch using graph paper, a ruler and an eraser. Make sure you know exactly what size you need to order the new fascia boards for.
So measuring the project correctly is crucial. To help you with this, we have the following tips voor het inmeten
for you
If you are more digitally inclined, you can use online programmes such as SketchUp or FreeCAD. Keep in mind in your design that you should always leave a few millimetres of space between different fascia parts. This way, the wood can still work.
Tip: Are you ordering several fascia boards from our webshop? Then give each fascia a characteristic. Then you don't have to puzzle at home and you can quickly start finishing and fitting your fascia boards.
How to prepare for fitting new fascia boards
Before installing new fascia boards, you need to know whether the battens under the old materials are still OK. This is why you unscrew the old fascia boards and check that the wood underneath has not started to rot. If it has, you will have to install new battens first. Battens behind the fascias are necessary for ventilation.
What material do you use for fascia
For bespoke fascia boards, one material is ideally suited: Okoumé plywood Waterproof.
Plywood Marine Water resistant mercury
Okoumé Waterproof plywood is the plywood variant that is resistant to moisture and therefore so good to use as a fascia board. This panel consists of several layers of plywood birch glued together with a waterproof glue.
Plywood is composed of several layers of veneer. These layers are glued together crosswise. This results in a stable board with an attractive edge that can easily be left in sight. Moreover, plywood is very suitable for horizontal applications: perfect for fascia boards! A good thickness for a Multiplex Okoume Waterproof fascia board is 18 mm or 22 mm.
How to attach fascia boards
You attach fascia boards to the battens on your house, shed, garage or summerhouse. Stringers are usually fixed with screws or with a combination of nails and waterproof glue. In any case, use stainless steel screws or nails, which will not rust in the humid outdoor climate.
It is wise to pre-drill plywood fascia boards before screwing. We recommend using a drill with a centring point. This way, the drill won't slip and the hole will be at exactly the right point.
How to finish fascia boards
The materials you order from TOSIZE.at still need to be treated in most cases. The same is certainly true of the wood commonly used for fascia boards: Plywood Okoumé Waterproof. The panels must first be primed and then painted one or more times. You can make it a little easier on yourself by ordering Multiplex Okoumé Watervast wit gegrond Furthermore, you can of course choose to give your fascia boards a characteristic appearance. This can be done by milling a groove in them, as handyman Milou has done with the fascias for a 1930s house. Finally, we recommend filling screw or nail holes with a paintable filler.
Tip: when ordering your sheet material, choose a rounded corner, the paint adheres better to this.
Examples of trim made by our handymen
Looking for inspiration for your job? Our handymen went before you and shared their results with us.
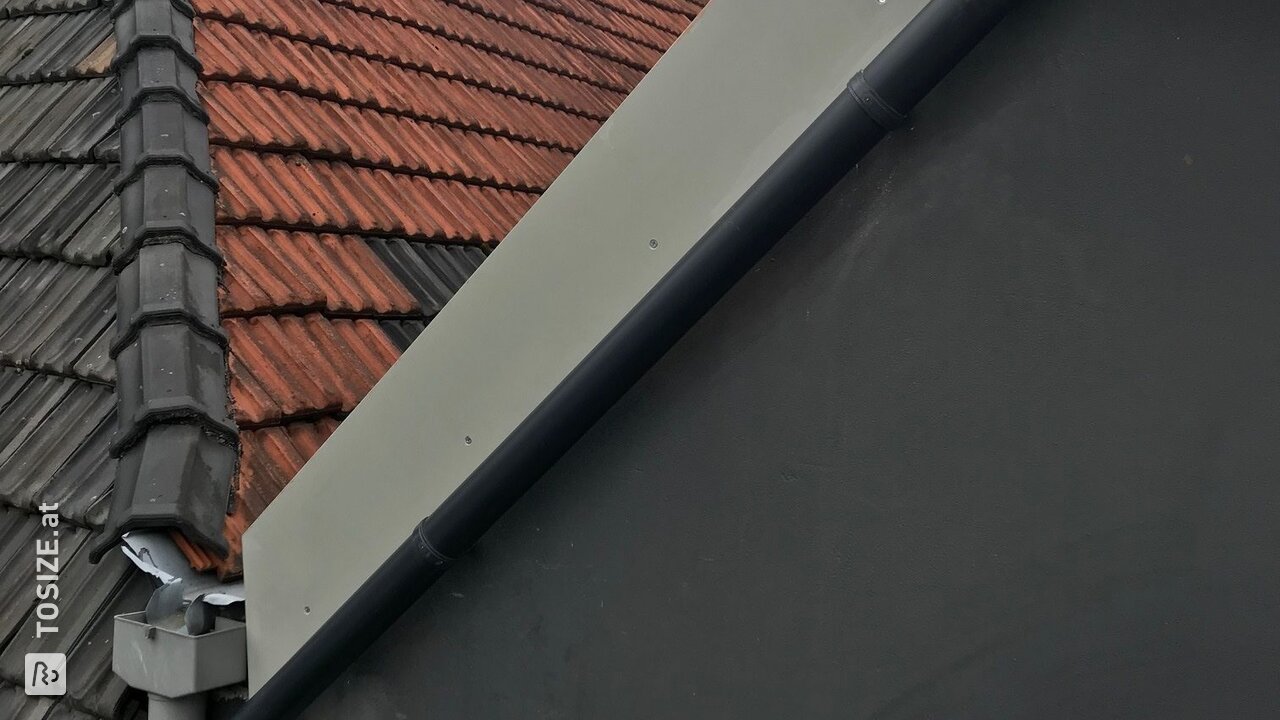
Budget-friendly wind feathers
Handyman Eric didn't want to spend too much money on his new wind springs and so decided to assemble them himself. By the way, we can in verstek zagen windbreaks for you. That saves you some work!
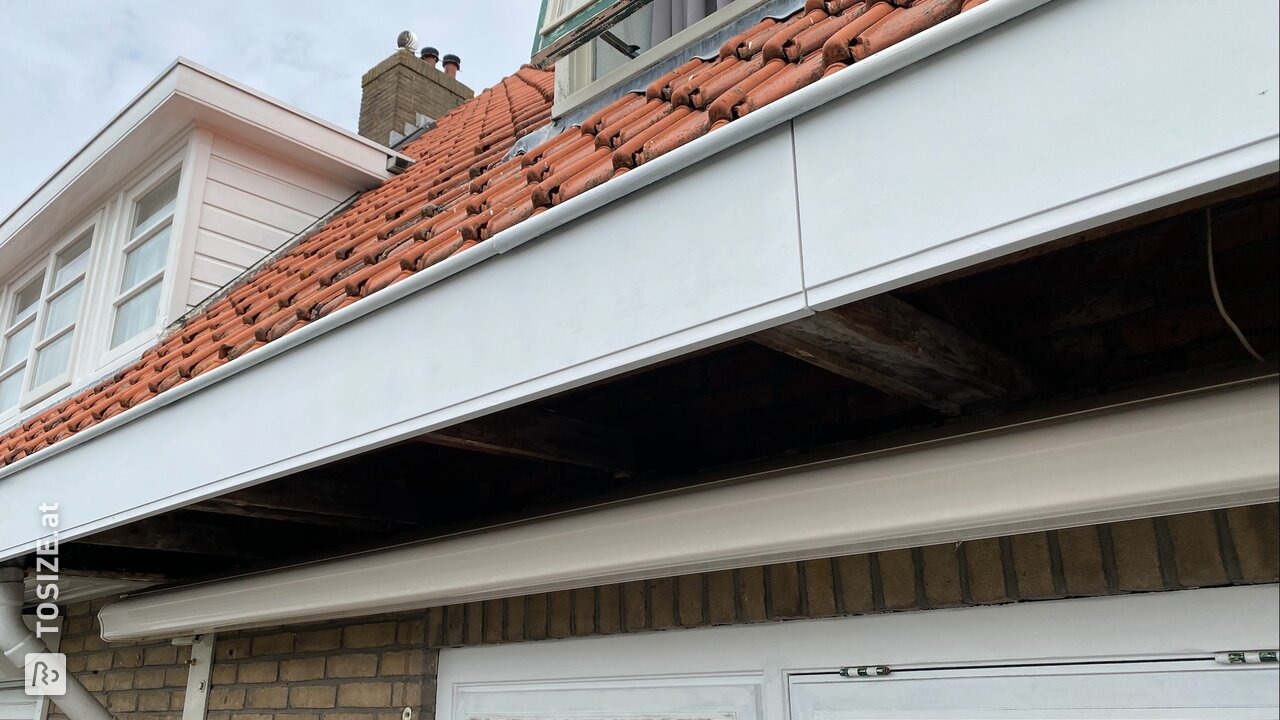
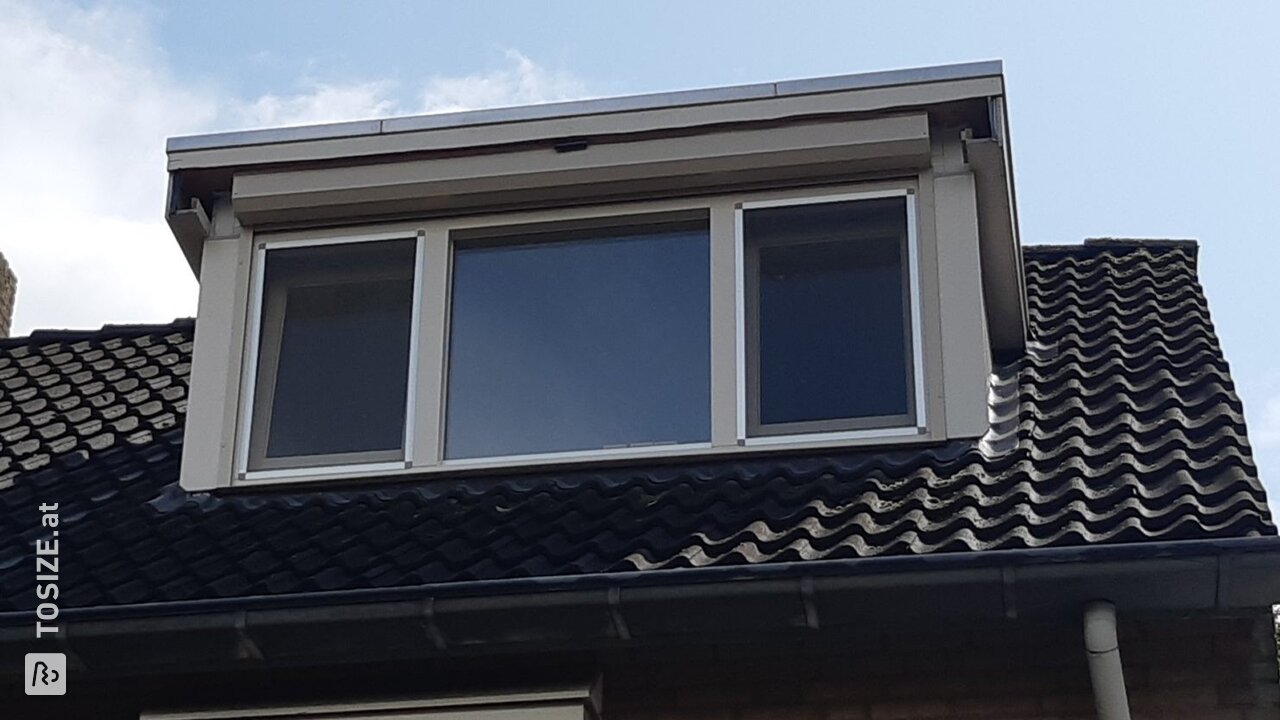
Fascias on a dormer window
To replace the fascia board on the dormer, handyman Geert ordered a nice piece of Okoumé Waterproof plywood from TOSIZE.at.
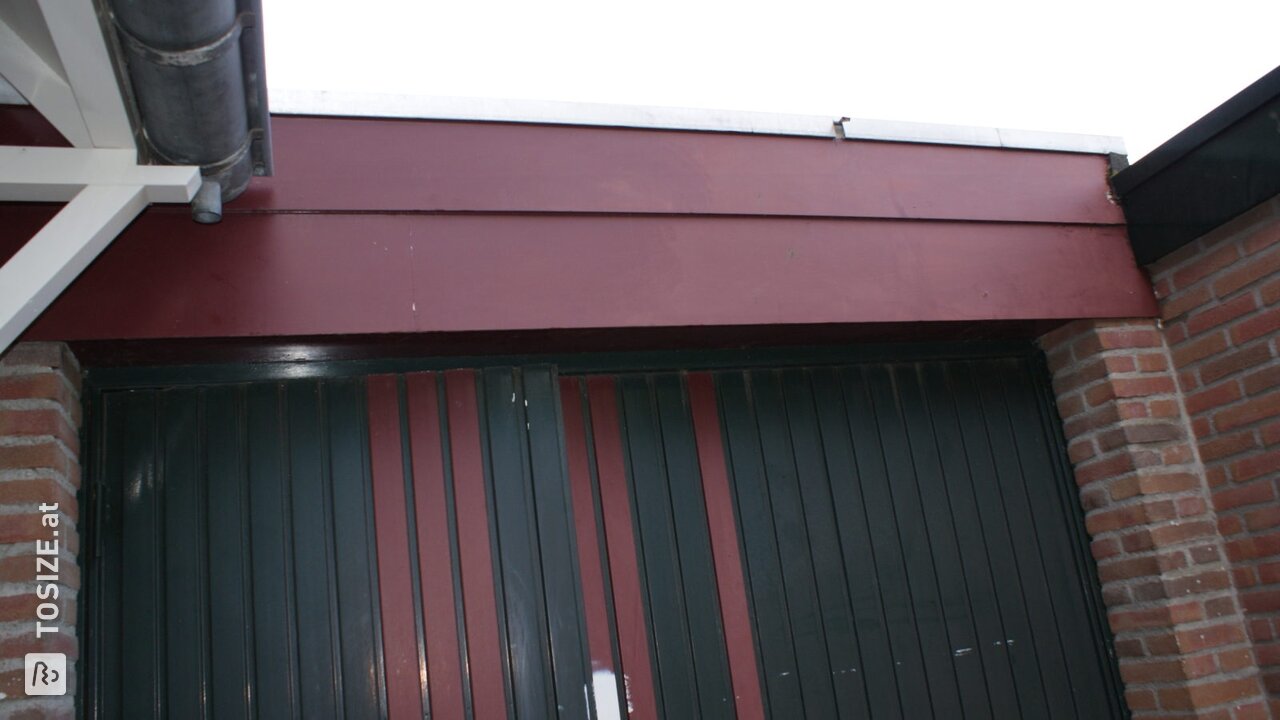
New fascia on the garage
You will also find fascia boards. on the garage. Handyman Chris ordered them from TOSIZE.at and painted them neatly.
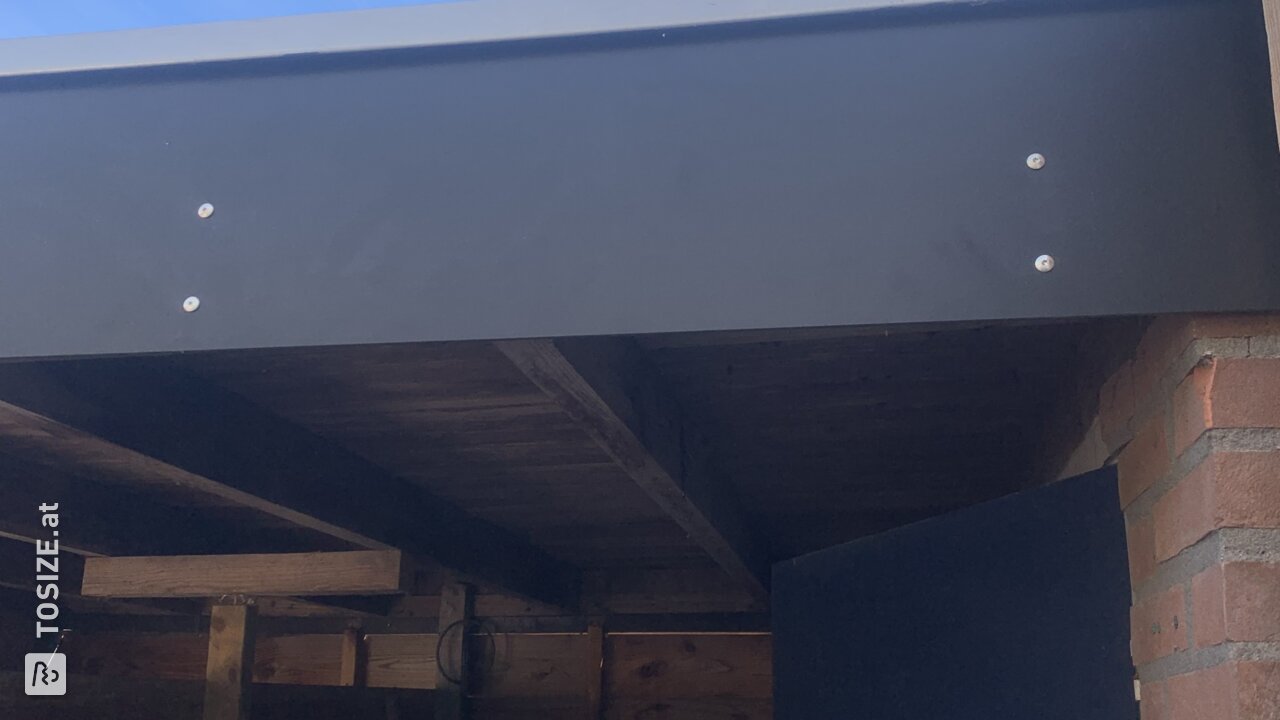
Buoy edge renovation
At handyman Koen's home, the fascia board on the canopy was rotten. Fortunately, the battens behind it were still good and he only had to have new sheet material delivered to his home.
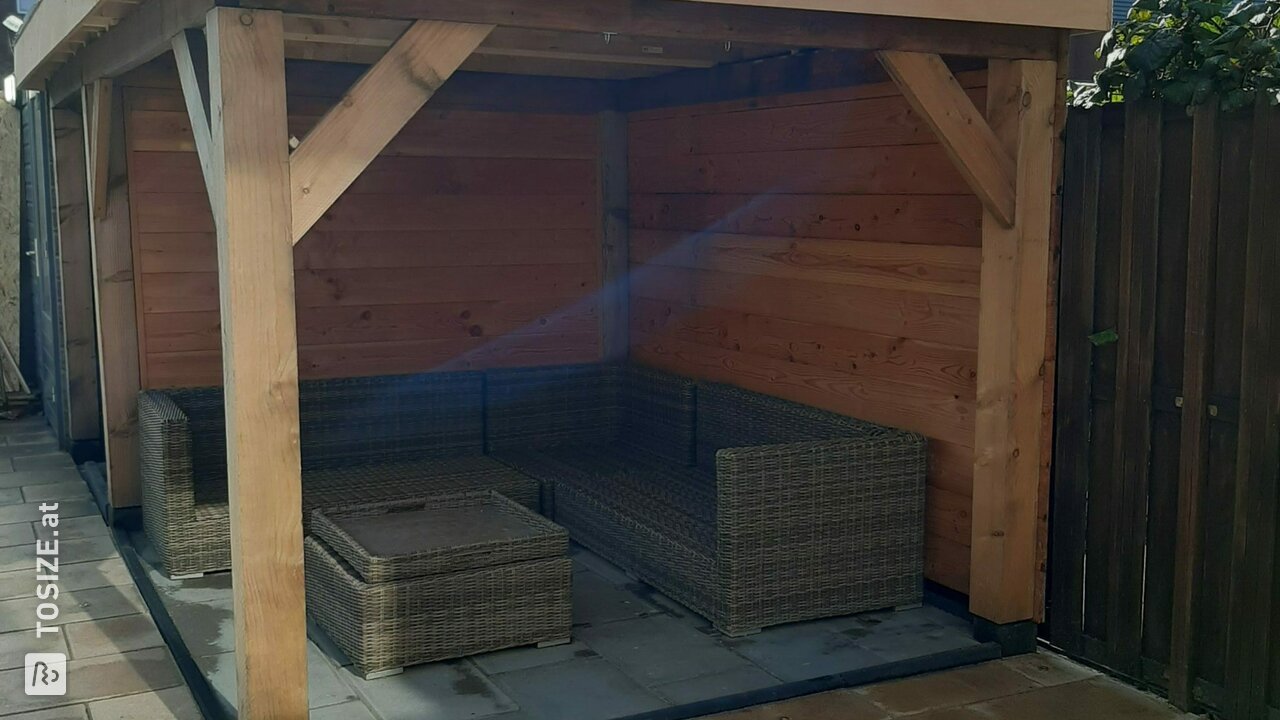
Conapy with fascia
A beautiful garden canopy also needs fascia boards. Since handyman Prewesh couldn't transport them himself, he called in TOSIZE.at. Cleverly done!
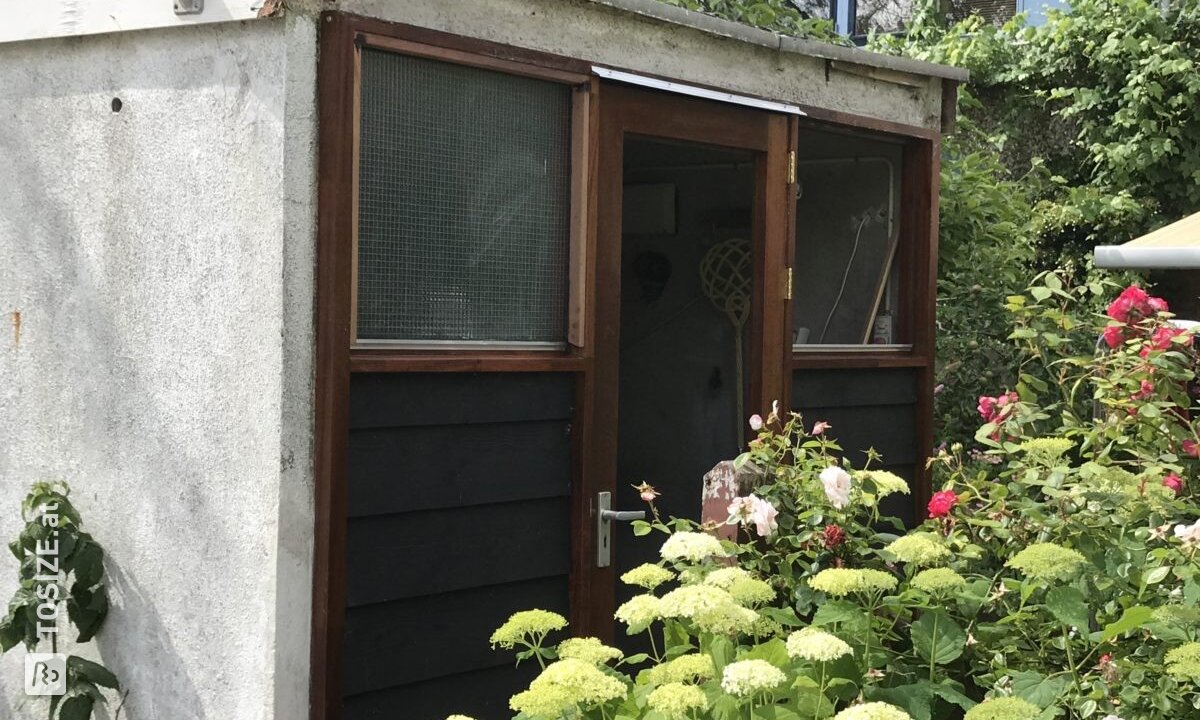
New fascia for the shed
Handyman Ad couldn't figure out the standard thicknesses for fascia boards he found on the internet. Fortunately, he got by with TOSIZE.at and was able to replace the fascia boards on the shed himself.
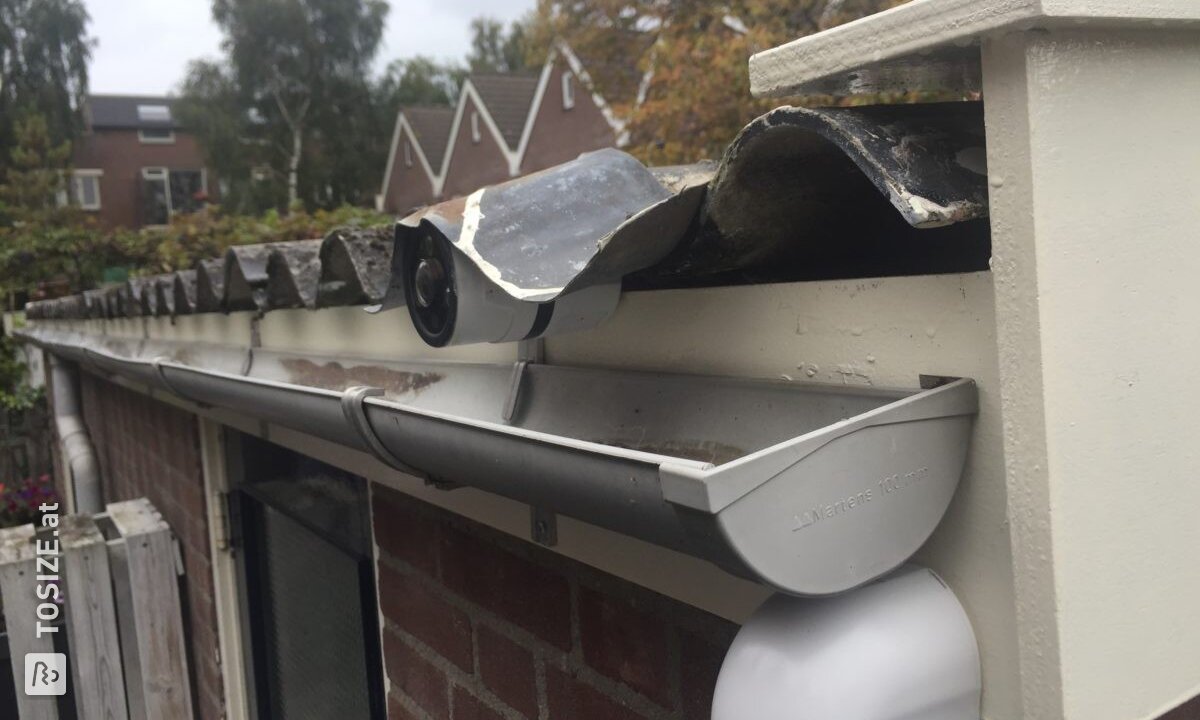
Getting started with your own to size fascia boards
With the tips and advice in this article, you should succeed in replacing the fascia boards yourself. In any case, you can come to us for perfectly cut Okoume Waterproof plywood, primed or unprimed. That saves you a lot of lugging and sawing.
Good luck with making your new fascia parts yourself!


