- TOSIZE.at
- Do it yourself
- DIY Projects
Make your own new window frame with moisture-resistant planks


Create this project yourself with sheet material cut to size by TOSIZE.at!
F
Very easy
3 minutes
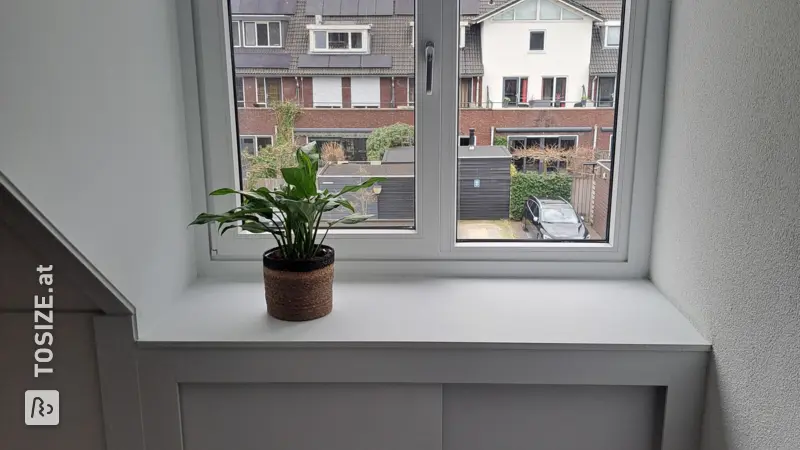
Do you have damage due to water leakage or water damage for another reason? Solve your problem by replacing the current wood with moisture-resistant planks. In this flat from 1958, the window frames leaked when the north wind blew. The window frames needed to be replaced. The wooden panel materials were purchased online, so replacing the frame was no longer difficult.
Description
I completed three projects with the custom-sawn wood:
- Window frame
- Subwoofer platform
- Power strip holder
Window frame
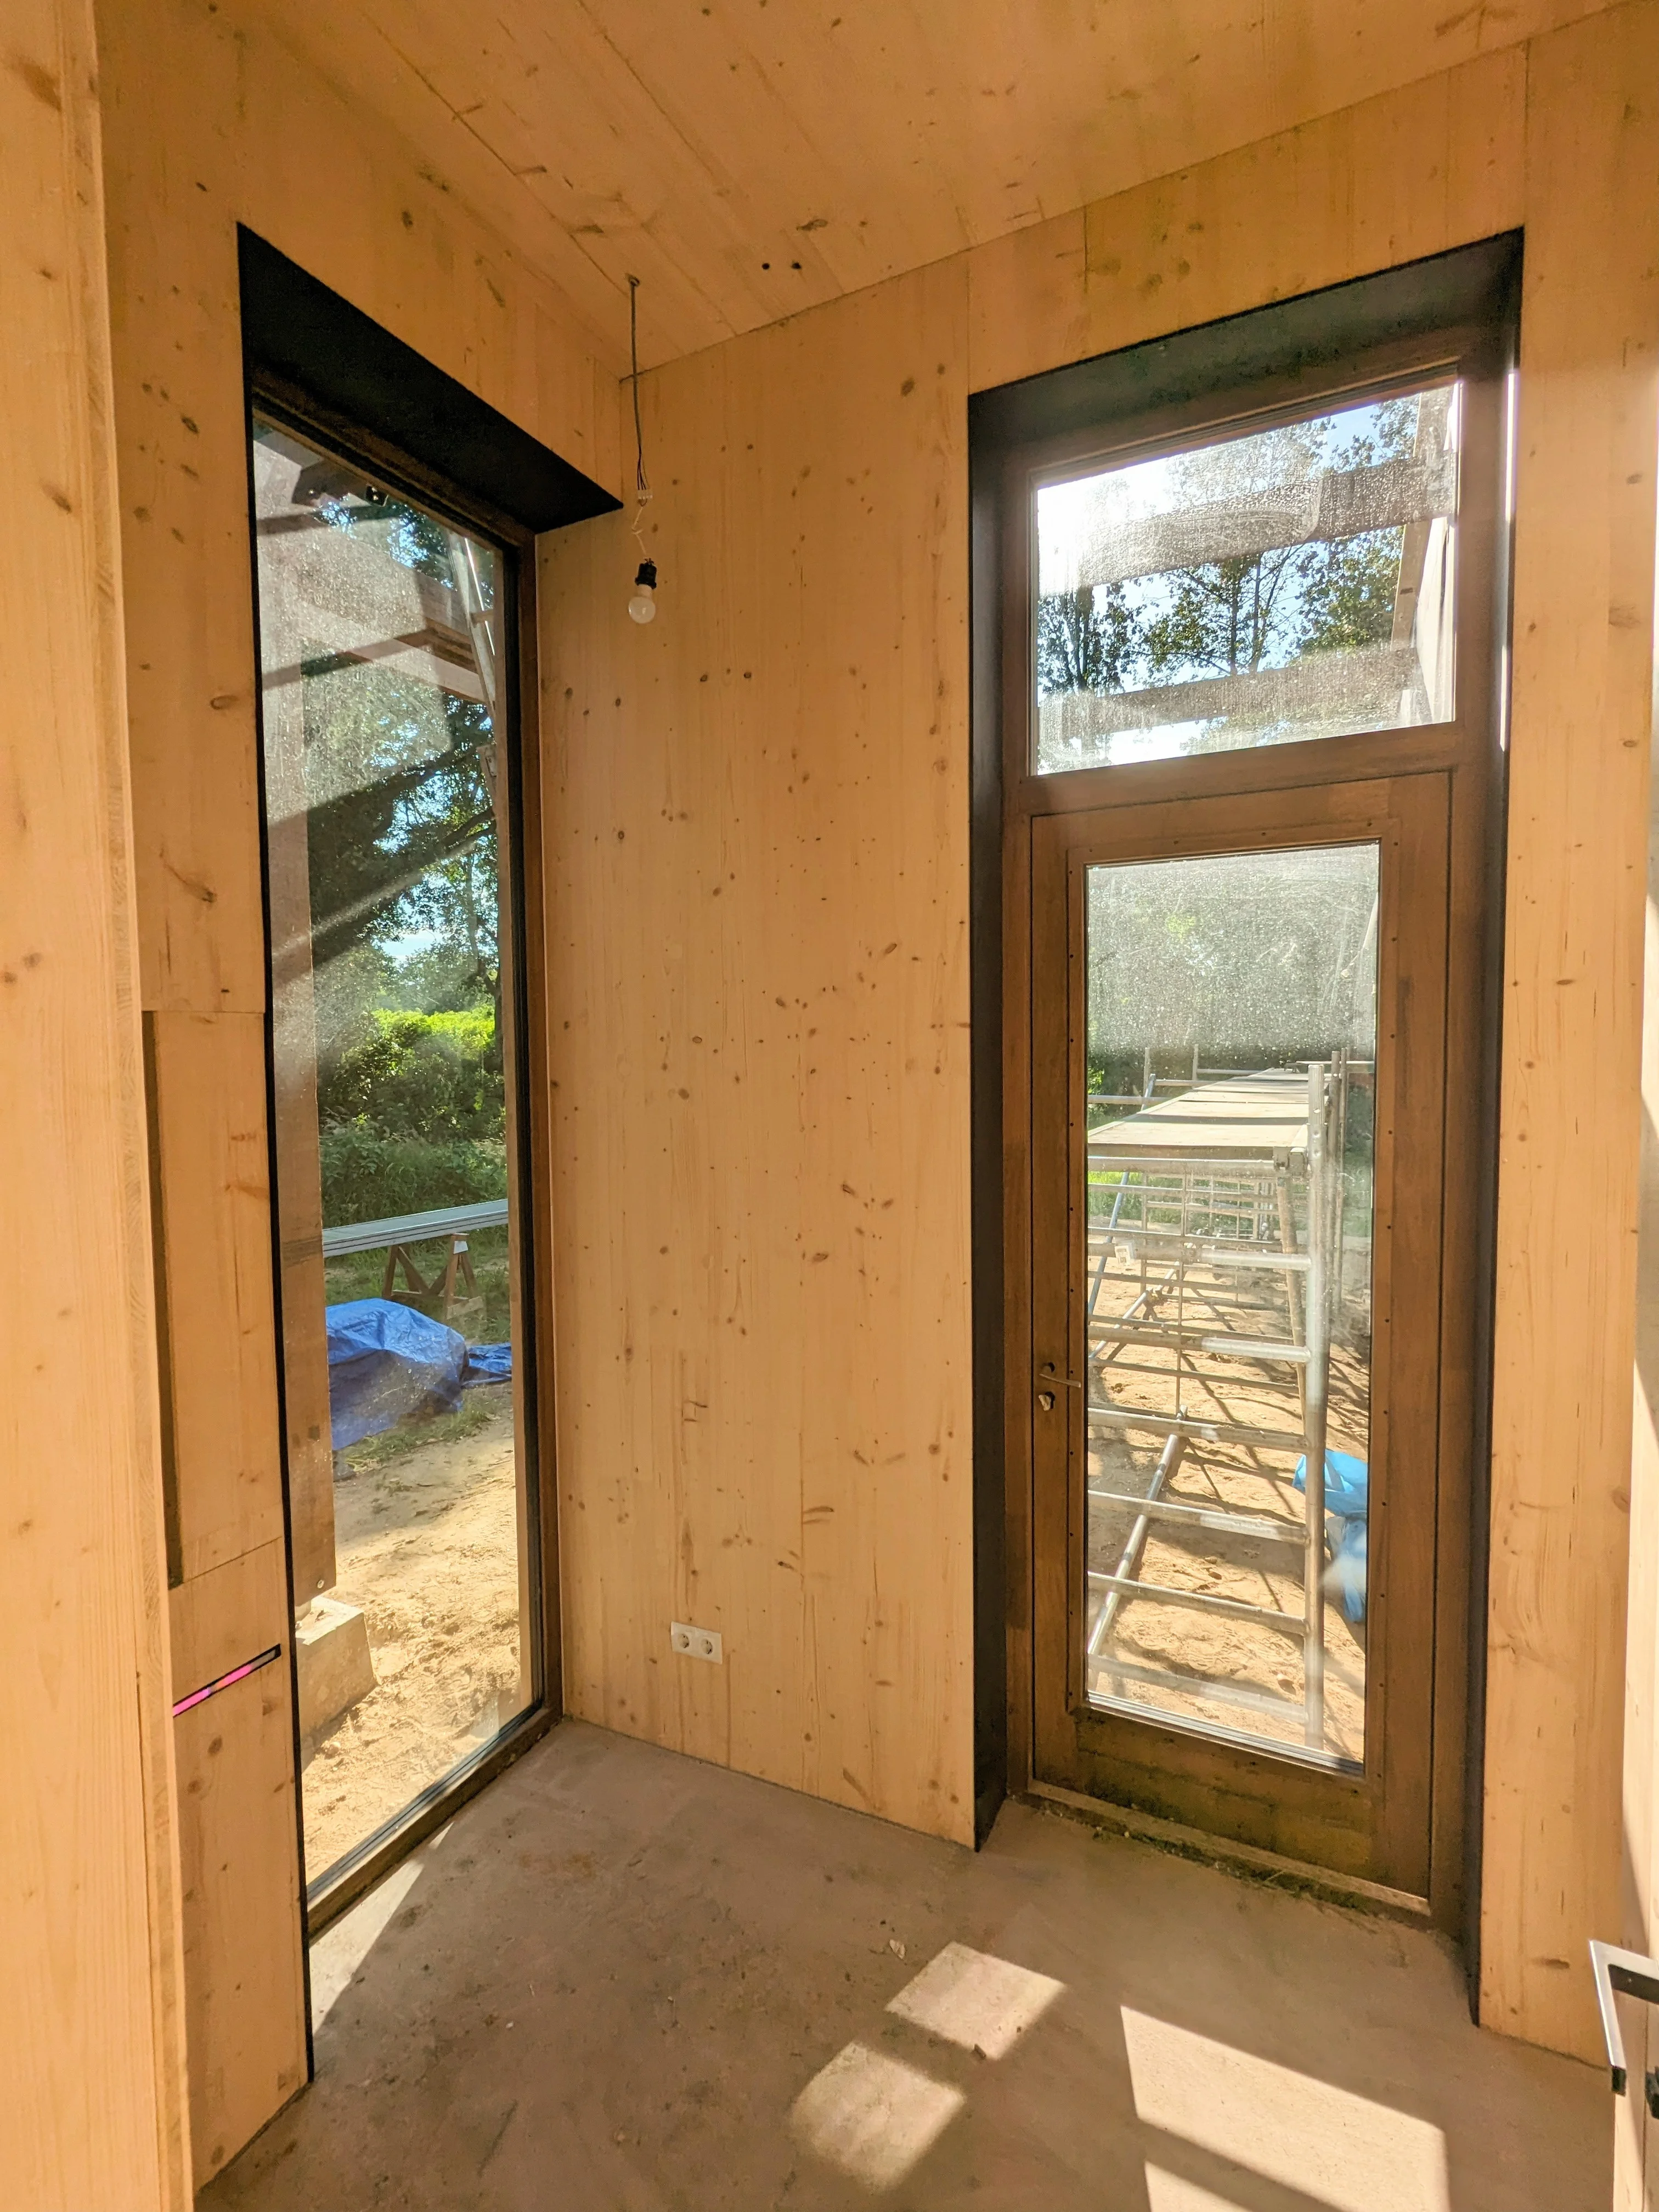
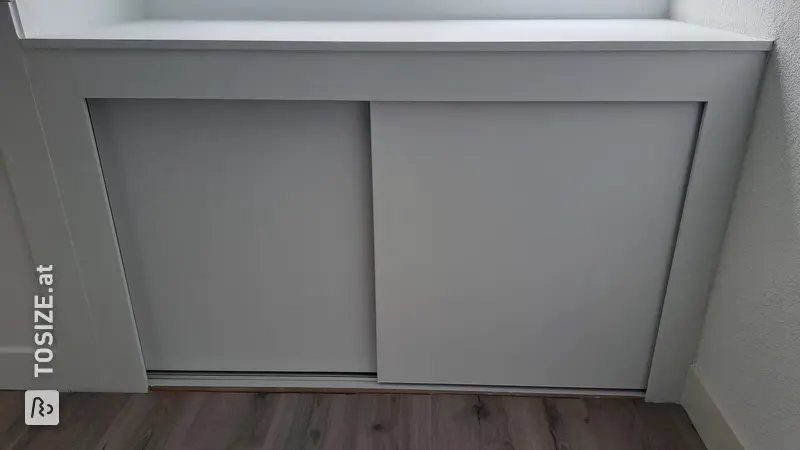
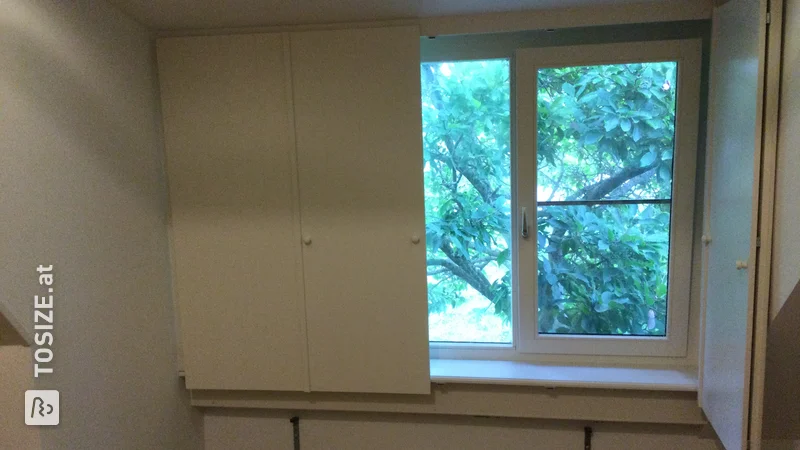
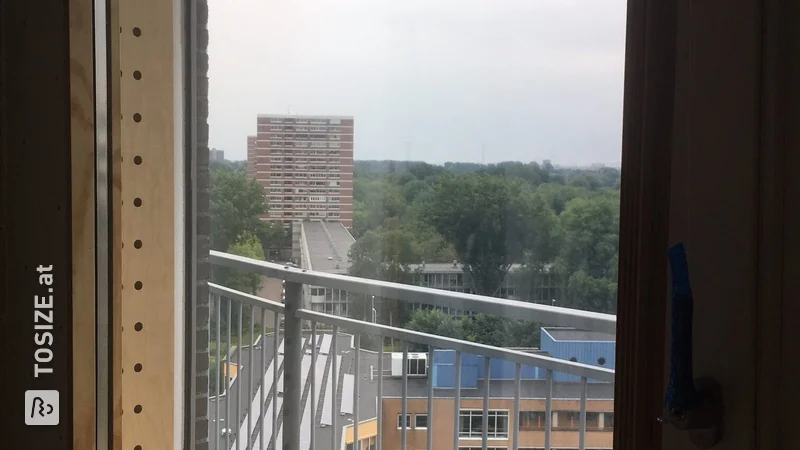
I made a new window frame from planks sawn to size. This leaked in a northerly wind. The year of construction of the apartment is 1958. It was a tilt window with single glazing. I live on the fourth floor, which is also the highest. The reason for moisture-resistant sheet material is that we had water leakage during heavy rain. Drops of water had run into the power strip, causing a short circuit in the sub, TV and WiFi. I had thin double glazing installed at the time. Painter said, no more leakage. Unfortunately that was not the case. That is why we decided to make a wooden construction. This turned out not to be sufficient, because there was still a small leak. Now make an extra cupboard around the window so that the leakage is completely resolved.
To solve the problem, purchased custom planks made of moisture-resistant MDF. Primed planks painted outside. Some things have also been replaced inside due to the damage.
Subwoofer platform and power strip holder
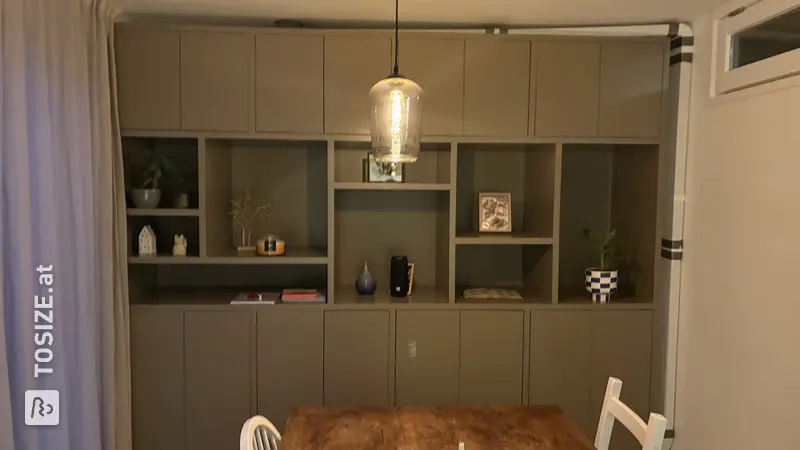
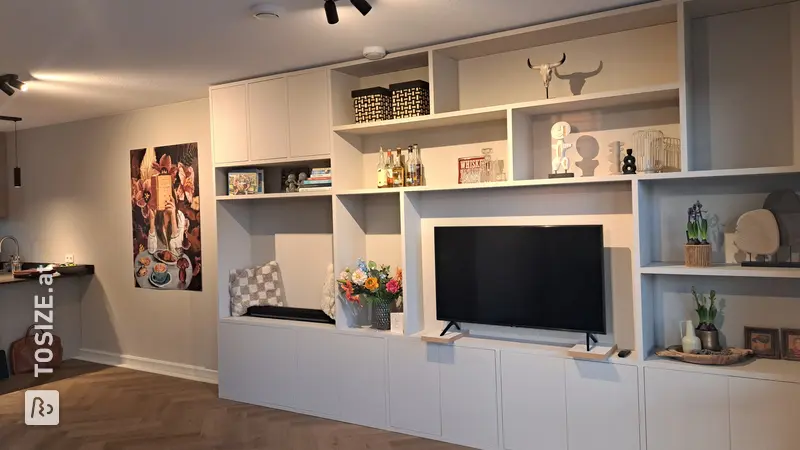
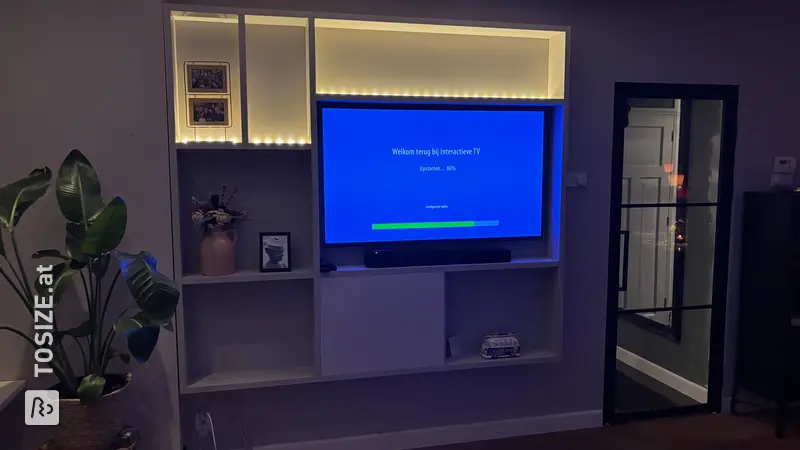
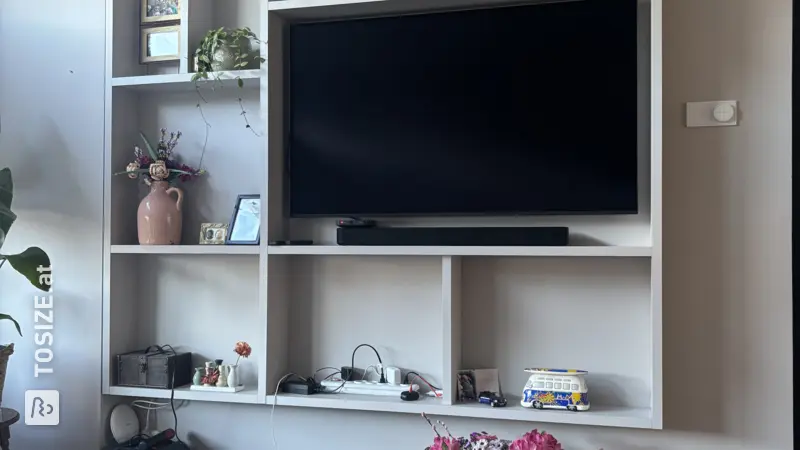
The black planks have not been used in the window frame, but have been deployed for power strip and subwoofer TV. For the subwoofer, Goodyear air balls are placed between the planks and spikes underneath. Power strip shelves are mounted on the wall.
How I made this project
Looking, measuring, thinking. I did not make a working drawing for this project, only prepared the dimensions well with a small sketch.
What do you need?
- Kit /li>
- Wood glue
- Paint outside primer and latex
- Roller and brush
- Sandpaper
- Level li>Distance laser
- Stairs
Window frame
I use wooden panels with wood glue, sealant and screws. The wood, which is also moisture resistant, is painted white. Several types of wood were used for this job. White wood that is moisture-resistant is used around the tinted double glazing, so that no leakage can occur through the cracks in the window and the joints between the stones. This happened when there was a strong storm and north/west wind. Then the whole thing was finished with latex wall paint in the color beige.
Subwoofer platform and power strip holder
The black wood is used to use both the Goodyear balls for the subwoofer and around these shelves with speakers on the left and speakers of the TV for a better stereo image. The black plates are for customizing the power strips. First of all, measure between shelves for TV because the distance is very important here. The Goodyear air balls, as I still had them, were reused. I used this between the black planks, with 4 spikes underneath. This is where the subwoofer comes into play with vibrations. Power strip is mounted on the wall on 2 black shelves.
Dimensions of my DIY project
Tip! Also check out our handy DIY tips!
What now?
Want to make this DIY project? Check out F's saw list and complete your order easily.
€178.72
View all sheet materials
