- TOSIZE.at
- Do it yourself
- DIY Projects
An oak top for a 19" rack, by Hidde
An oak top for a 19" rack, by Hidde
Create this project yourself with sheet material cut to size by TOSIZE.at!
Hidde
Very easy
1 minute
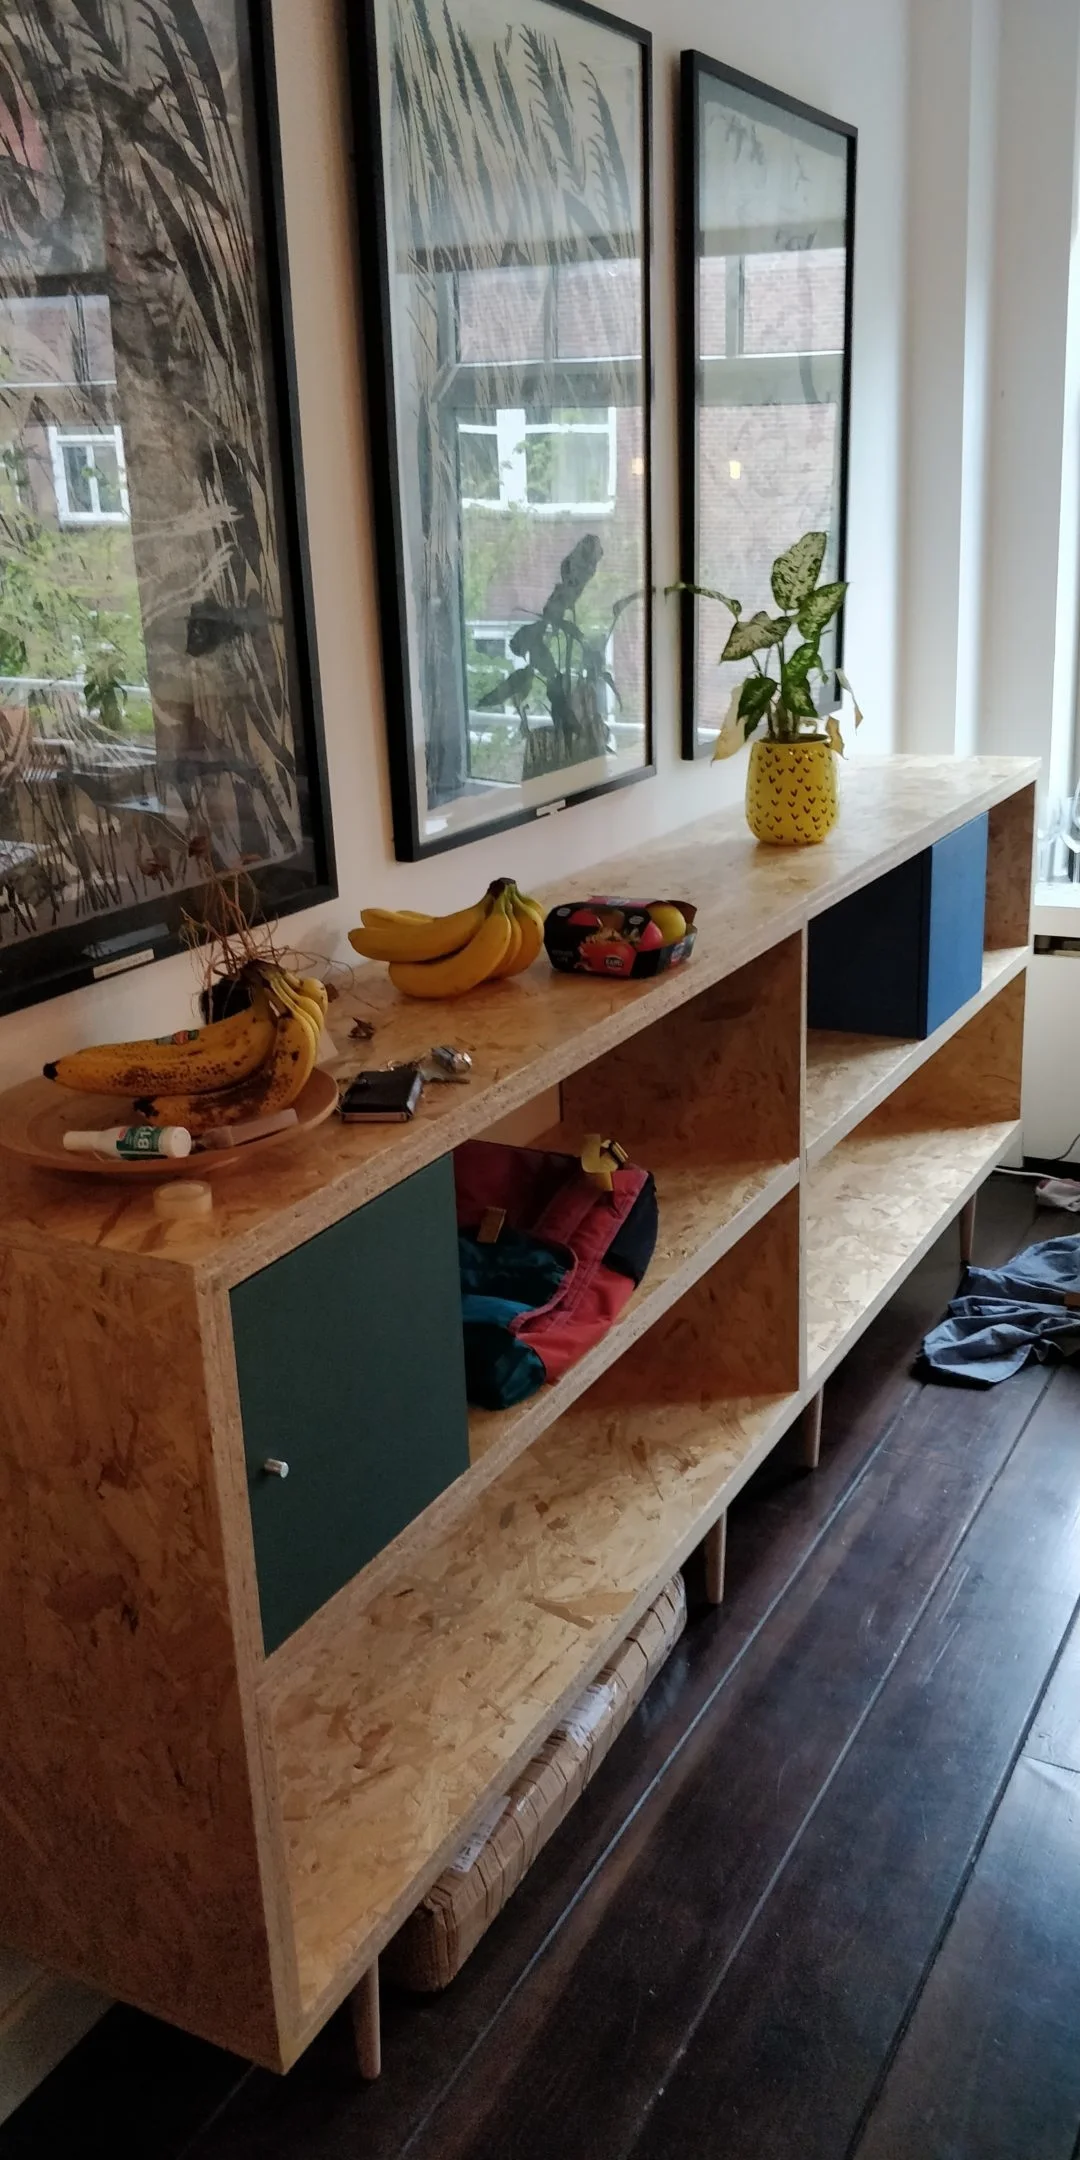
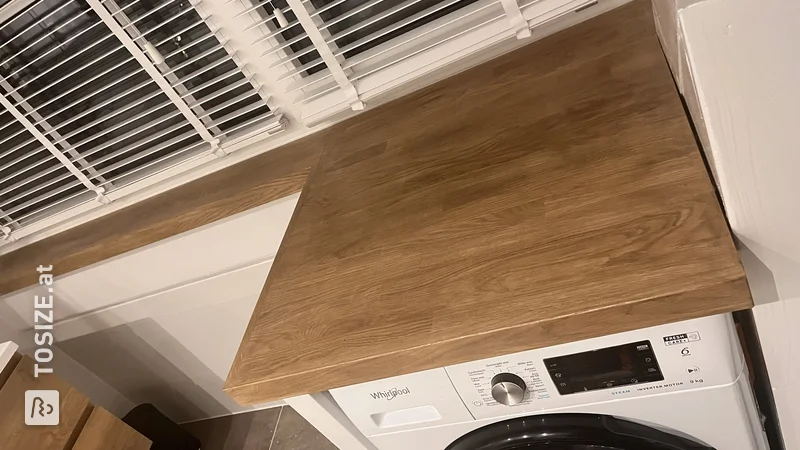
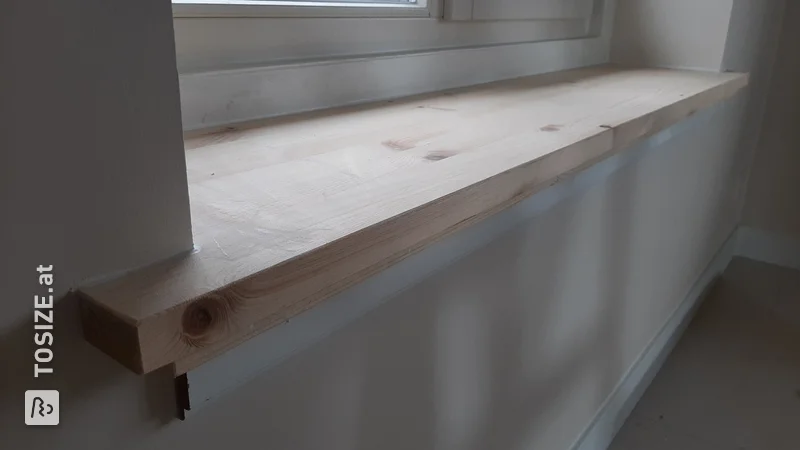
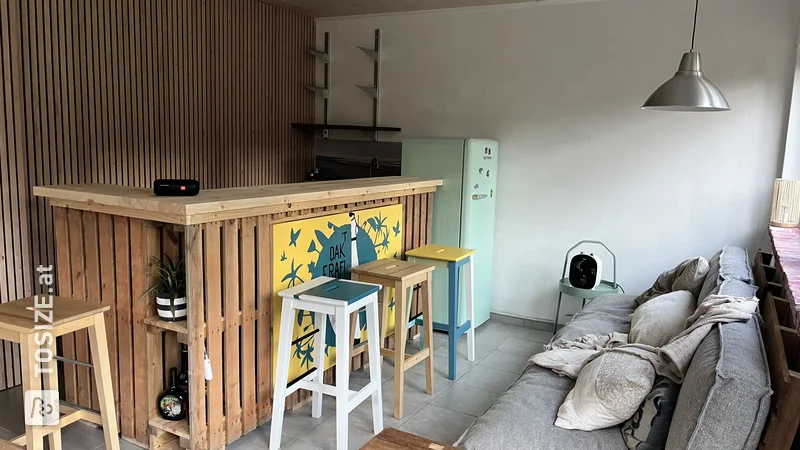
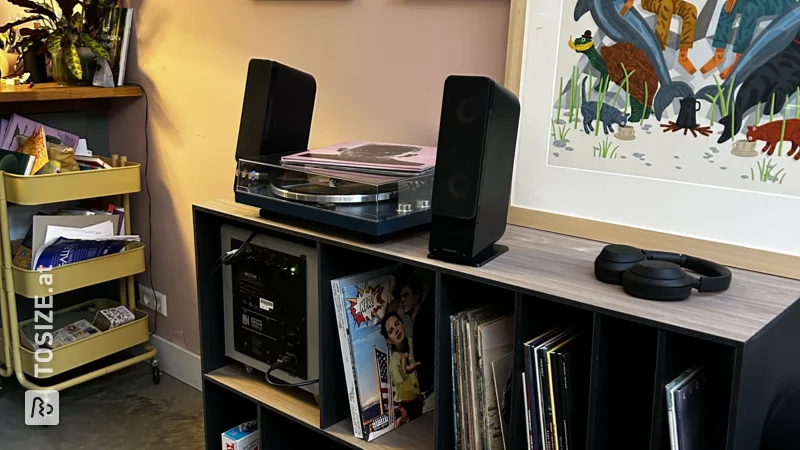
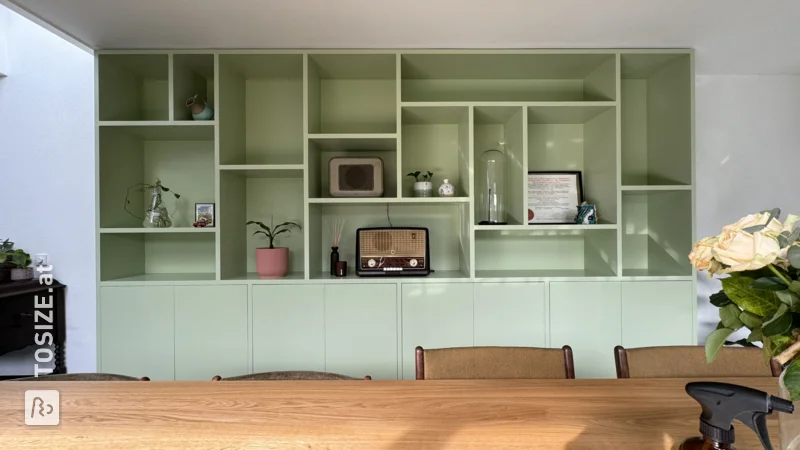
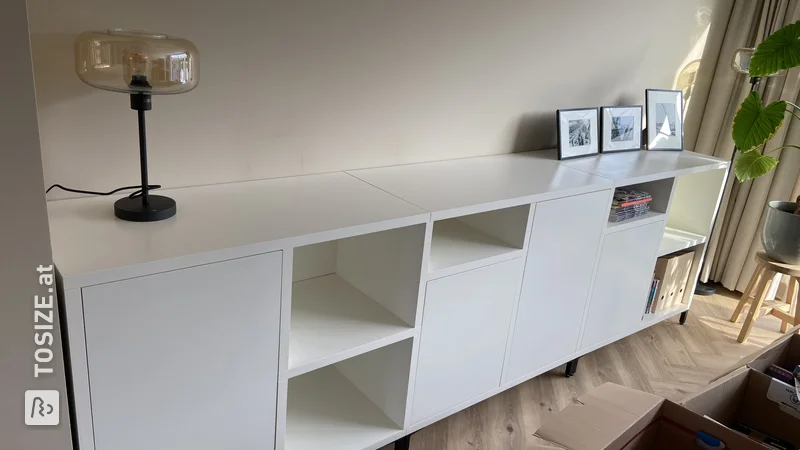
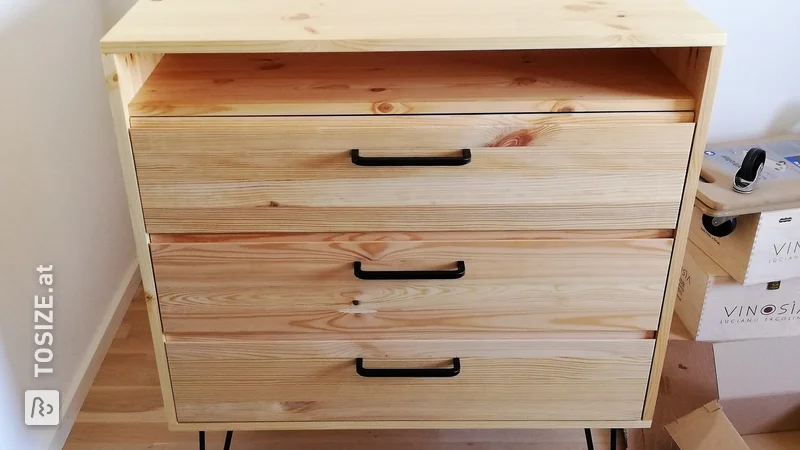
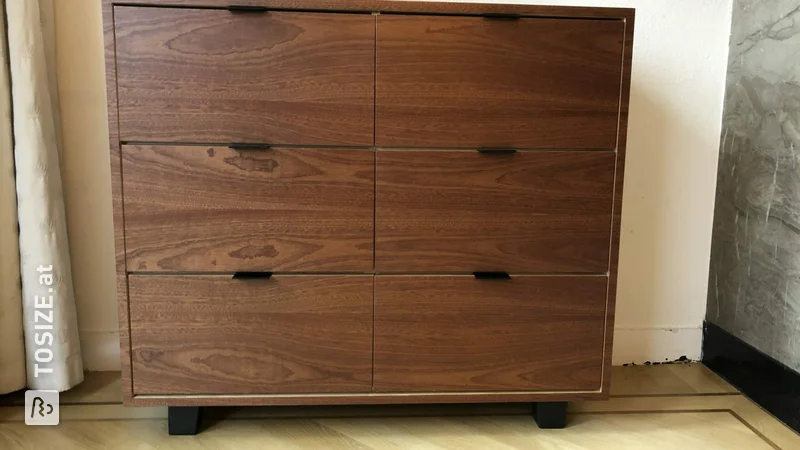
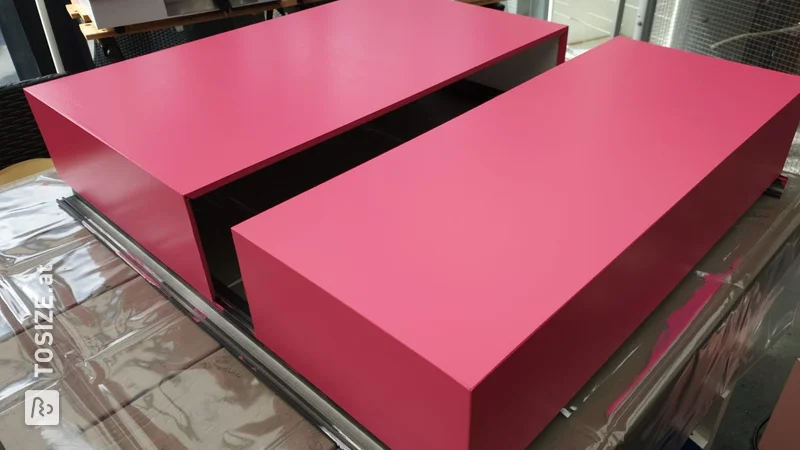
In this project, Hidde shows how he made a functional rack more beautiful with a custom-sawn carpentry panel. For this project he chose an oak carpentry panel 40mm.
Description by Hidde
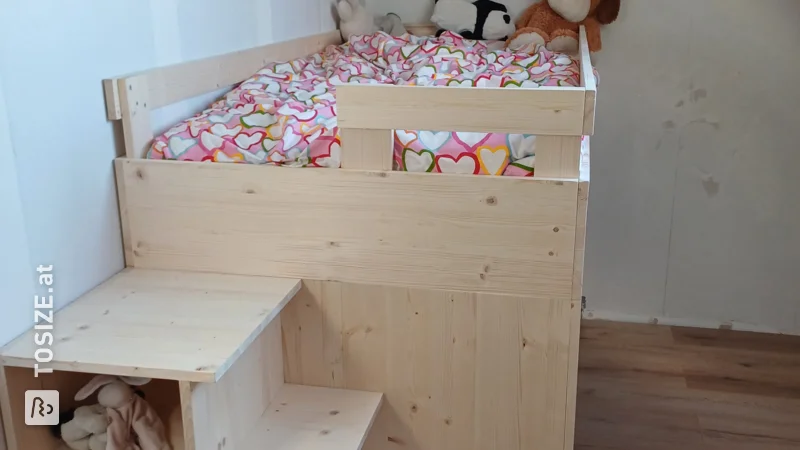
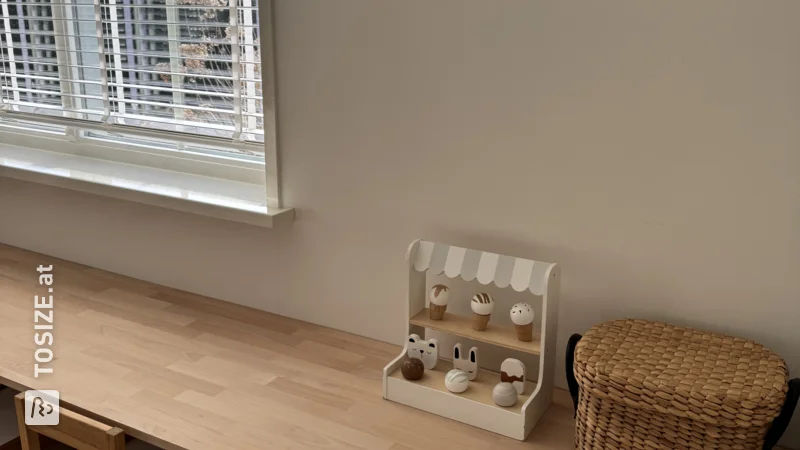
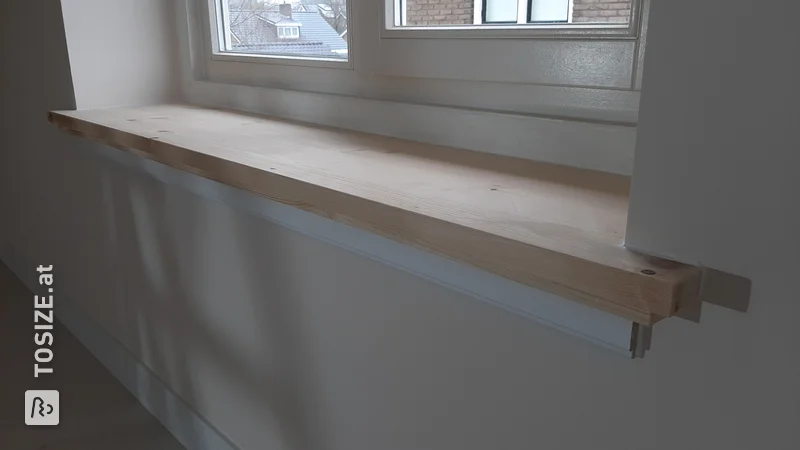
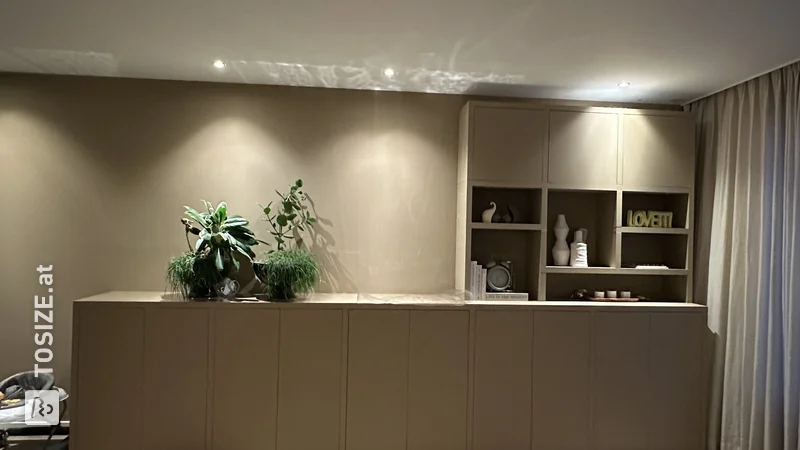
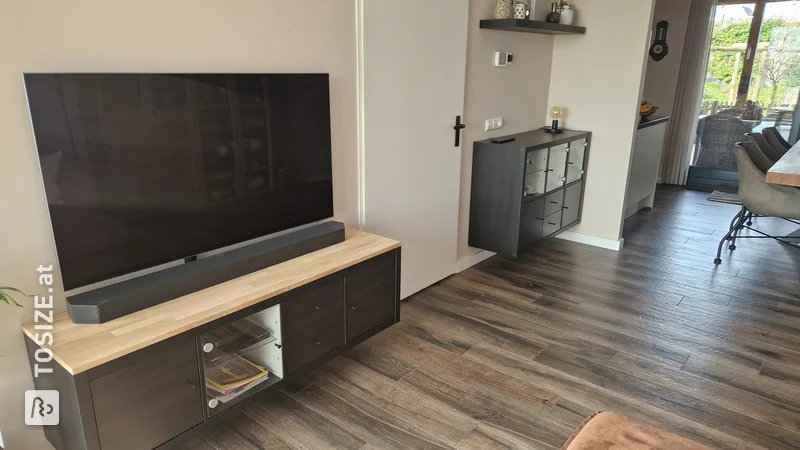
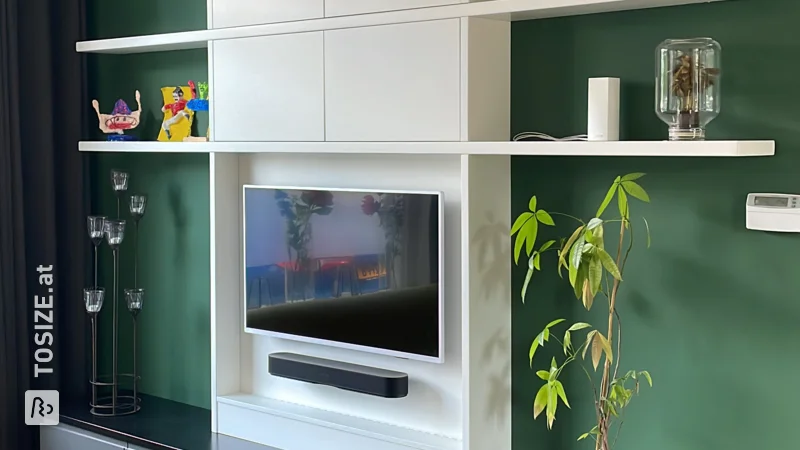
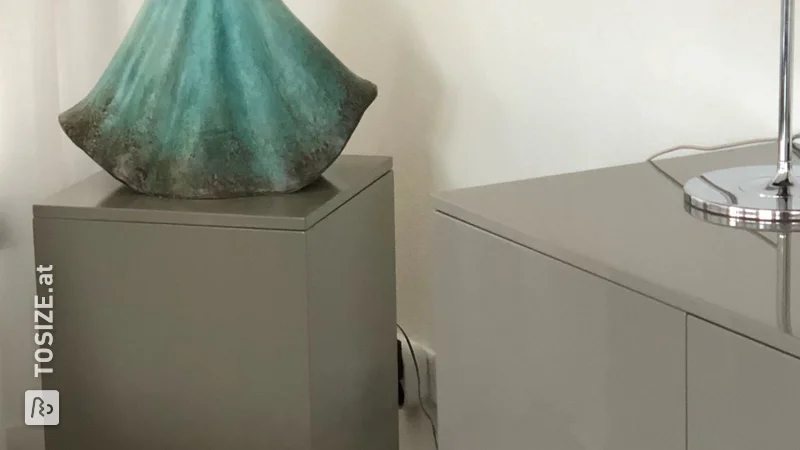
I made a top for my 19" rack. The original rack has no top and since this is in my living room, I thought it was important to make a more attractive top. In addition, it is more practical because I can now put things (in this case speakers) on it.
How I made this project
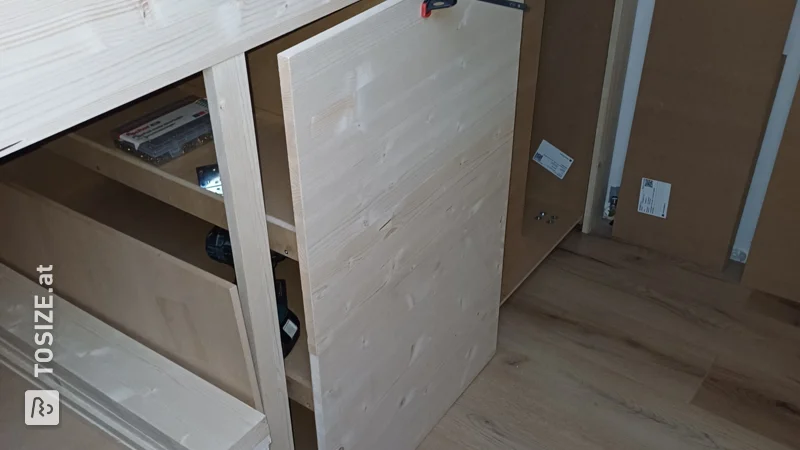
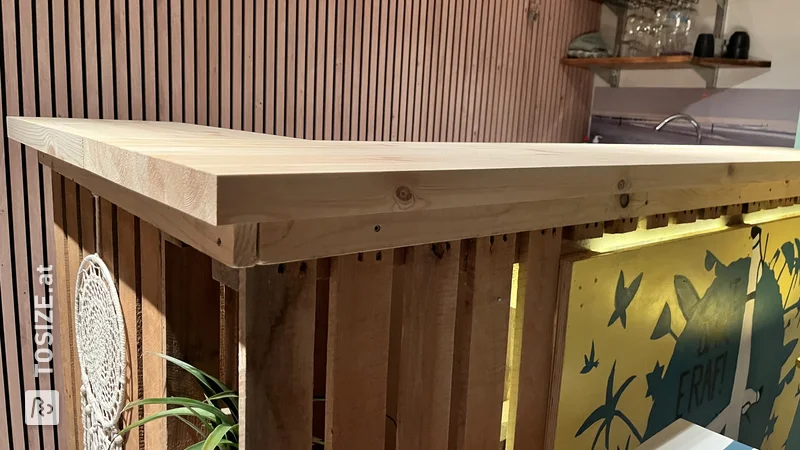
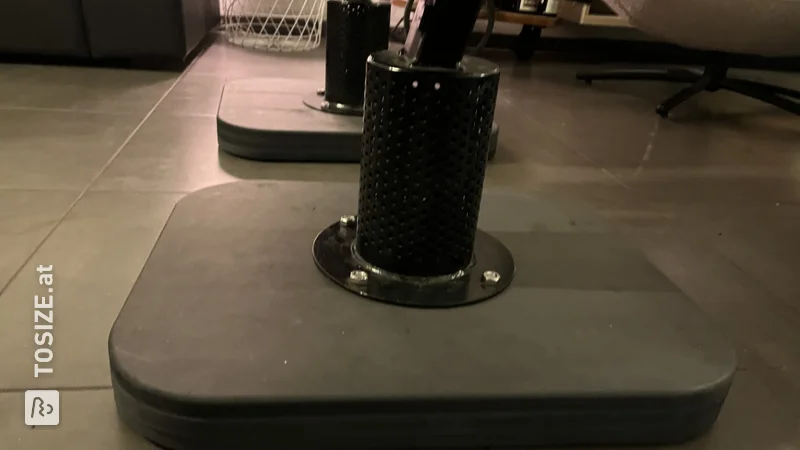
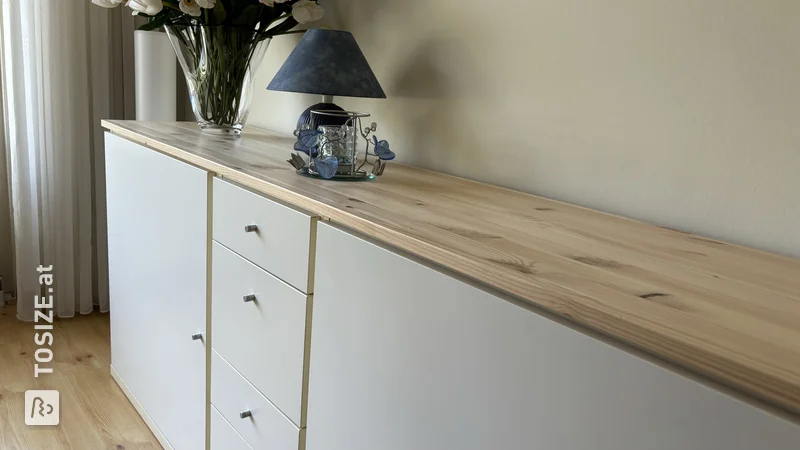
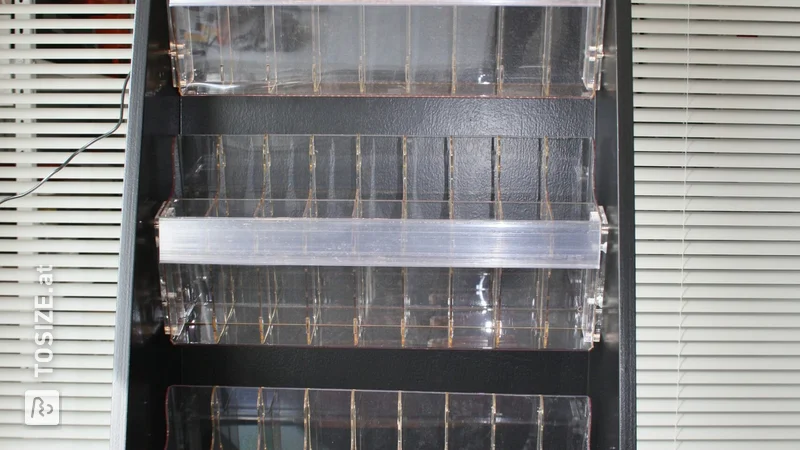
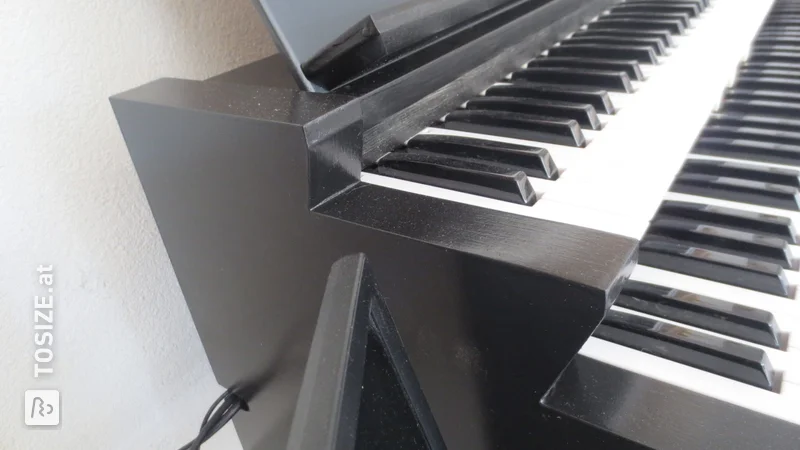
I first ordered an oak wooden plank (approx. 60.0 x 60.0 cm). Then it was finely sanded and finished with oil. I mounted the wooden plank with 8 bolts. These are secured in the wood using threaded inserts. The holes were already in the original frame, making assembly very easy. The 19' rack I used is the 18U open frame with 4 posts from Startech: https://www.startech.com/nl-nl/server-beheer/4postrack18u
Dimensions of my DIY project
60.5cm x 60cm x 94cm (L x W x H)
Tip! Also check out our handy DIY tips!
What now?
Want to make this DIY project? Check out Hidde's saw list and complete your order easily.
€244.73
View all sheet materials